
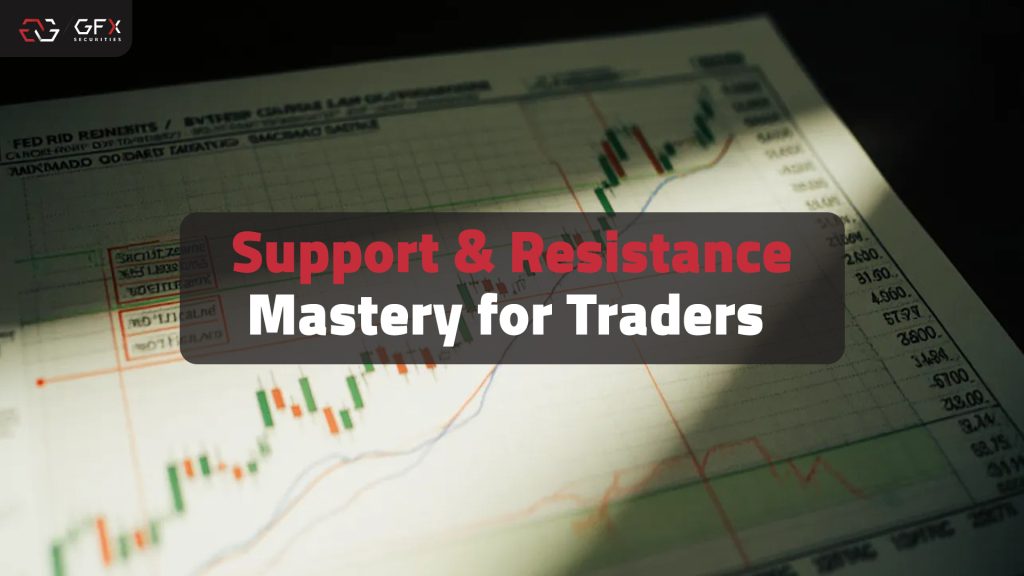
Support & Resistance Mastery for Traders
Powered by GFX Securities
Introduction: Why Support & Resistance Matter
In every tradable market — whether forex, stocks, indices, commodities, or crypto — prices don’t move randomly. They follow patterns, structure, and repeated battle zones between buyers and sellers. One of the most fundamental and powerful tools that professional traders use to navigate this structure is support and resistance levels.
Support and resistance are not just lines on a chart — they represent psychology, liquidity, supply and demand dynamics, and the collective behavior of market participants. Recognizing these levels can transform how you:
enter trades
set stop losses
take profits
manage risk
define trend strength and reversals
Understanding support and resistance is foundational to profitable trading because it frames your decisions within the market’s natural structure rather than relying on guesswork.
What Are Support and Resistance?
Support and resistance levels are areas on a price chart where market behavior has repeatedly paused, reversed, or consolidated.
Support is a price zone where buying interest outweighs selling pressure, often preventing price from falling further.
Resistance is the opposite — a zone where selling interest outweighs buying, capping upward movement.
These are not fixed points but zones — often best viewed as bands where price interacts repeatedly over time.
Why These Levels Work
Support and resistance levels work because they are self-reinforcing. When many traders recognize the same price levels, they place buy or sell orders around them. Over time, the reactions at these levels become part of market memory.
A resistance zone that has capped rallies multiple times becomes more significant.
A support zone that has halted declines repeatedly gains respect.
This is part of what traders call a self-fulfilling prophecy in markets — levels matter because traders expect them to matter.
1. Finding Support & Resistance With Historical Pivot Levels
One of the most intuitive and commonly used ways to identify support and resistance is by looking at historical pivot levels — price points where the market repeatedly reacted.
Tradeciety
How it Works
Scroll back on your chart to find major highs and lows.
Draw horizontal lines at areas with multiple price touches.
The more times price has reacted at a level, the stronger that pivot zone becomes.
Example: If EUR/USD stalls repeatedly around 1.1500 over several periods, that level becomes an important pivot zone because traders react to it historically.
2. Pivot Points: Mathematical Levels Used Today
Pivot points are a set of mathematically calculated levels based on prior high, low, and close prices. These provide traders with daily support and resistance markers.
Pivot Point (PP) is the base level.
Support levels (S1, S2, S3) and Resistance levels (R1, R2, R3) are calculated around it.
Many professional intraday traders rely on pivot points because:
✔ They are objective.
✔ They reflect crowd behavior.
✔ They are widely used by large institutions.
Pivot points are especially valuable on lower time frames (e.g., 5-minute, 15-minute, or hourly), where short-term reactions often occur near these levels.
3. Big Round Numbers: Psychological Barriers
Humans think in round numbers — and markets reflect that psychology.
Levels like 1.1000, 1.2000, or 1.5000 become natural support and resistance zones because traders tend to:
✔ Place stop orders near them
✔ Enter positions at these landmarks
✔ React emotionally to whole numbers
This behavior means that big round numbers often act as pivot zones where price hesitates or reverses.
4. Fibonacci Retracement & Extension Levels
Fibonacci retracements are mathematical tools based on ratios derived from the Fibonacci sequence. The most commonly used levels are:
23.6%
38.2%
50%
61.8%
78.6%
Traders use these levels to measure potential retracement zones after a major price swing. These ratios often mark potential support or resistance before a trend continues.
In uptrends:
Retracement levels act as support zones
Extension levels act as resistance and profit targets
In downtrends:
Fibonacci retracements act as resistance
Extensions act as support — reversing retracements into continuation moves.
Note: Fibonacci tools are most powerful when paired with other confirmation signals like volume, candlestick patterns, or moving averages.
5. Moving Averages as Dynamic Support & Resistance
Unlike horizontal levels, moving averages (MAs) adjust with price action and can provide dynamic support and resistance.
Popular MAs include:
✔ EMA 50
✔ EMA 100
✔ EMA 200
These averages often act as support in trending markets:
In uptrends, price falls toward an MA and bounces up.
In downtrends, price rallies toward an MA and reverses down.
Because many traders watch the same moving averages, these levels can become self-fulfilling.
6. Drawing Trendlines for Dynamic Levels
Trendlines connect multiple swing highs and swing lows across time:
In uptrends, connecting rising lows reveals dynamic support.
In downtrends, connecting falling highs reveals dynamic resistance.
Trendlines help you spot turning points and breakout opportunities when combined with other technical tools.
7. Using Higher Timeframes for Stronger Levels
Support and resistance observed on higher timeframes like daily, weekly, or monthly charts carry more weight than those on lower timeframes.
Higher timeframe zones reflect broader market memory and institutional activity, making them more reliable barriers.
8. Combining Multiple Methods for Greater Confidence
No single method is perfect in isolation. The best results come from combining:
Historical pivot levels
Pivot points
Fibonacci levels
MAs
Trendlines
Big round numbers
When multiple tools align near the same zone, this confluence of evidence boosts the probability of a significant reaction.
Practical Application: Planning Entries and Exits
Support and resistance aren’t just academic concepts — they’re practical tools for trade planning:
✔ Entry Points: Near support in uptrends or after breakouts.
✔ Stop Loss: Below support or above resistance to minimize risk.
✔ Take Profit: Near the next resistance in uptrends or the next support in downtrends.
✔ Breakout Trades: When price breaks major zones with volume, anticipate follow-through.
Traders who plan trades around these zones improve:
Reward-to-risk ratios
Stop placement discipline
Exit timing
Confidence in strategy execution
Risk Management and Real-World Considerations
Support and resistance are powerful, but not infallible. Markets can break levels due to liquidity sweeps, news, or institutional activity. In such cases:
✔ Wait for confirmation before acting
✔ Avoid placing stops directly at obvious levels
✔ Use additional indicators like RSI, MACD, volume, or candlestick confirmations
A cluttered chart with too many levels often confuses traders. Focus on major, tested levels visible across timeframes.
Conclusion: Elevate Your Trading with Structural Levels
Support and resistance levels are among the most essential tools in a trader’s kit. From Fibonacci retracements to pivot points and psychological round numbers, these zones reveal where market psychology and liquidity interact.
Mastering these helps you:
Plan trades more logically
Execute entries with discipline
Manage risk with precision
Understand market structure across time frames
At GFX Securities, we encourage traders to build a structured approach — where support and resistance serve as structural guides, not guesswork.